Item
INFO
If this is your first time knowing DatamineHub, you may wonder what DatamineHub does and whether it can meet your needs. You can quickly browse our brief introduction and main concepts
INFO
If you don’t have an account yet, you can give it a try. DatamineHub offers a permanent free tier, and no credit card is required for registration.
You can also start with mobile app and scan your barcode with mobile app for free.
TIP
Add item to sheet is available on both DatamineHub Mobile App and Web App. You can choose which platform you would like to check which decides the screenshots in this page.
INFO
You can also watch the corresponding video (double click to full screen)
What's an item?
Item is the data itself, it's the real stuff you're interested in. With the template and sheet organized the data, you now can manage items in your sheet.
How to add item to sheet?
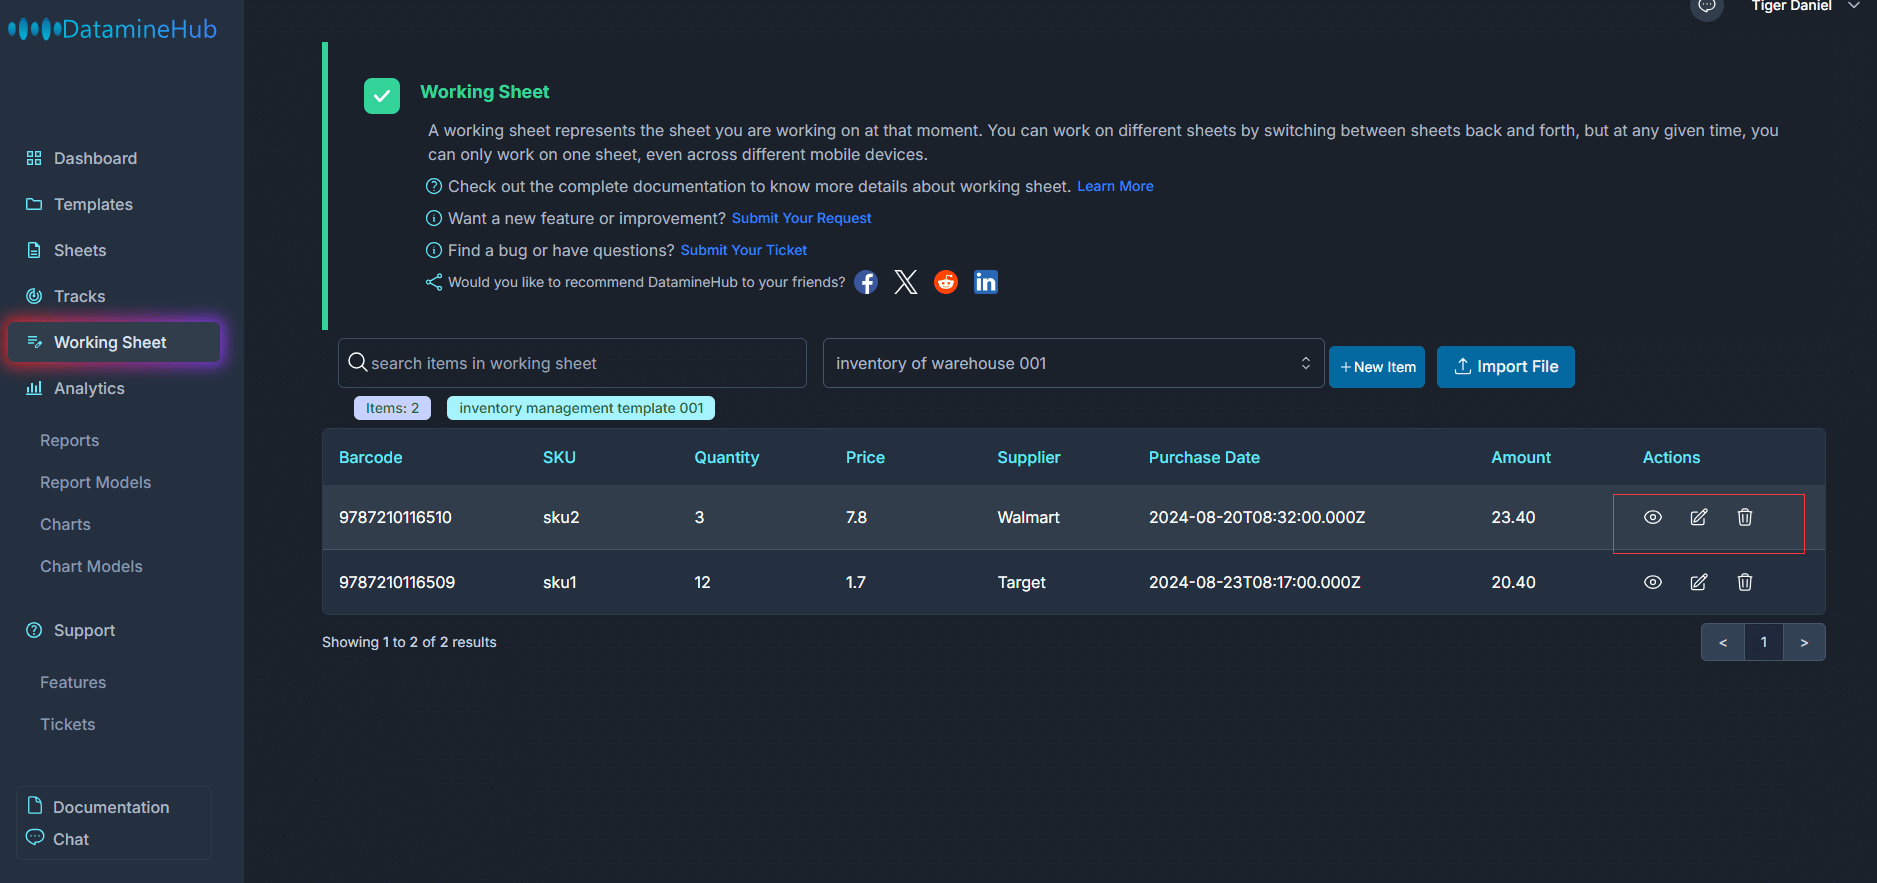
To add items to sheet, you first need to choose that sheet as Working sheet. A working sheet represents the sheet you are working on at that moment. You can work on different sheets by switching between sheets back and forth, but at any given time, you can only work on one sheet, even across different mobile devices.
Follow the steps below to add items to sheet.
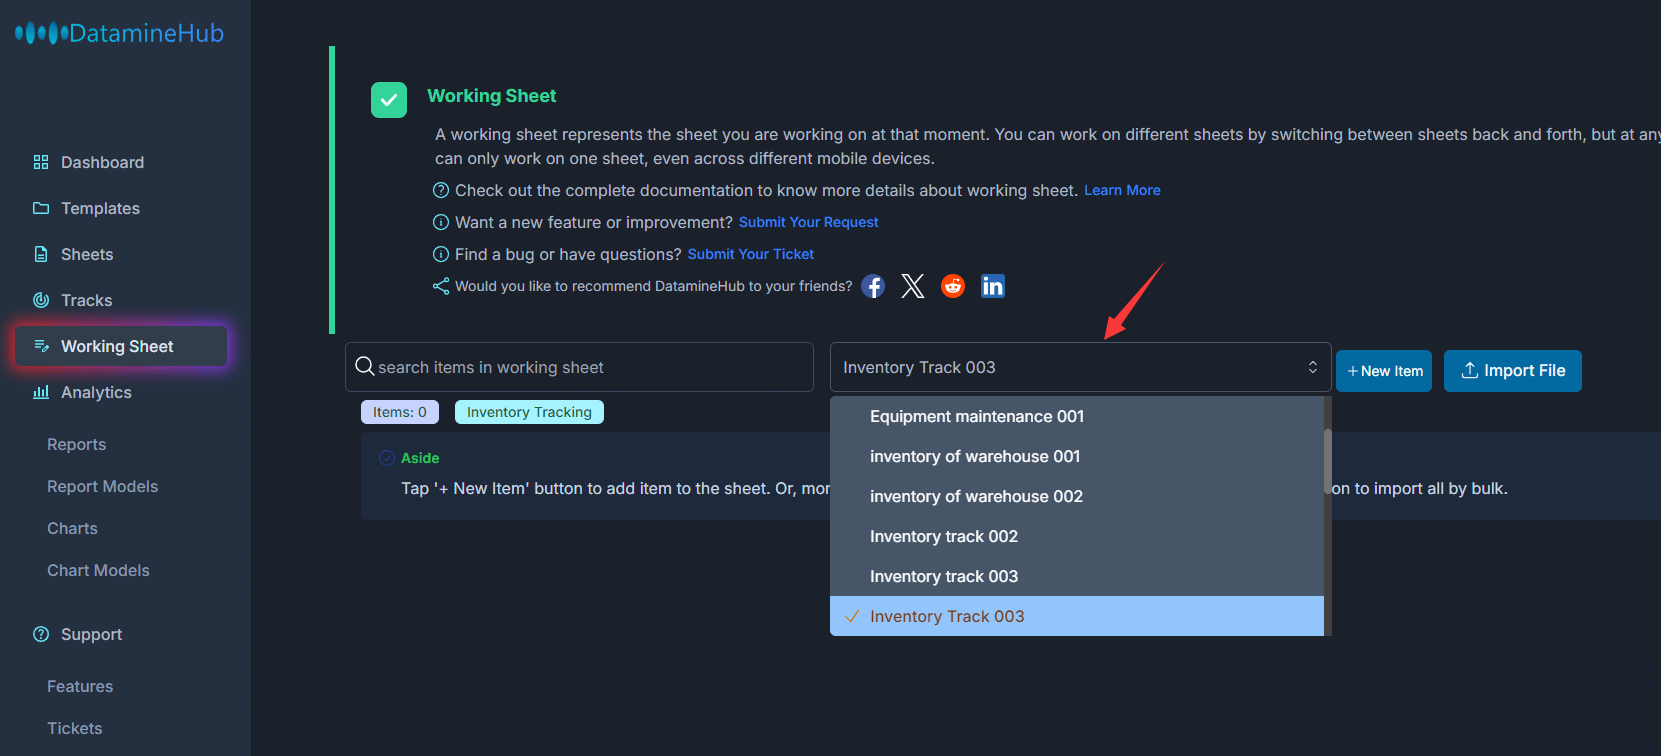
- From the drop-down list, choose the sheet you'd like to work on. If there is no sheets available, you can create one. Or, check sheet doc for more details.
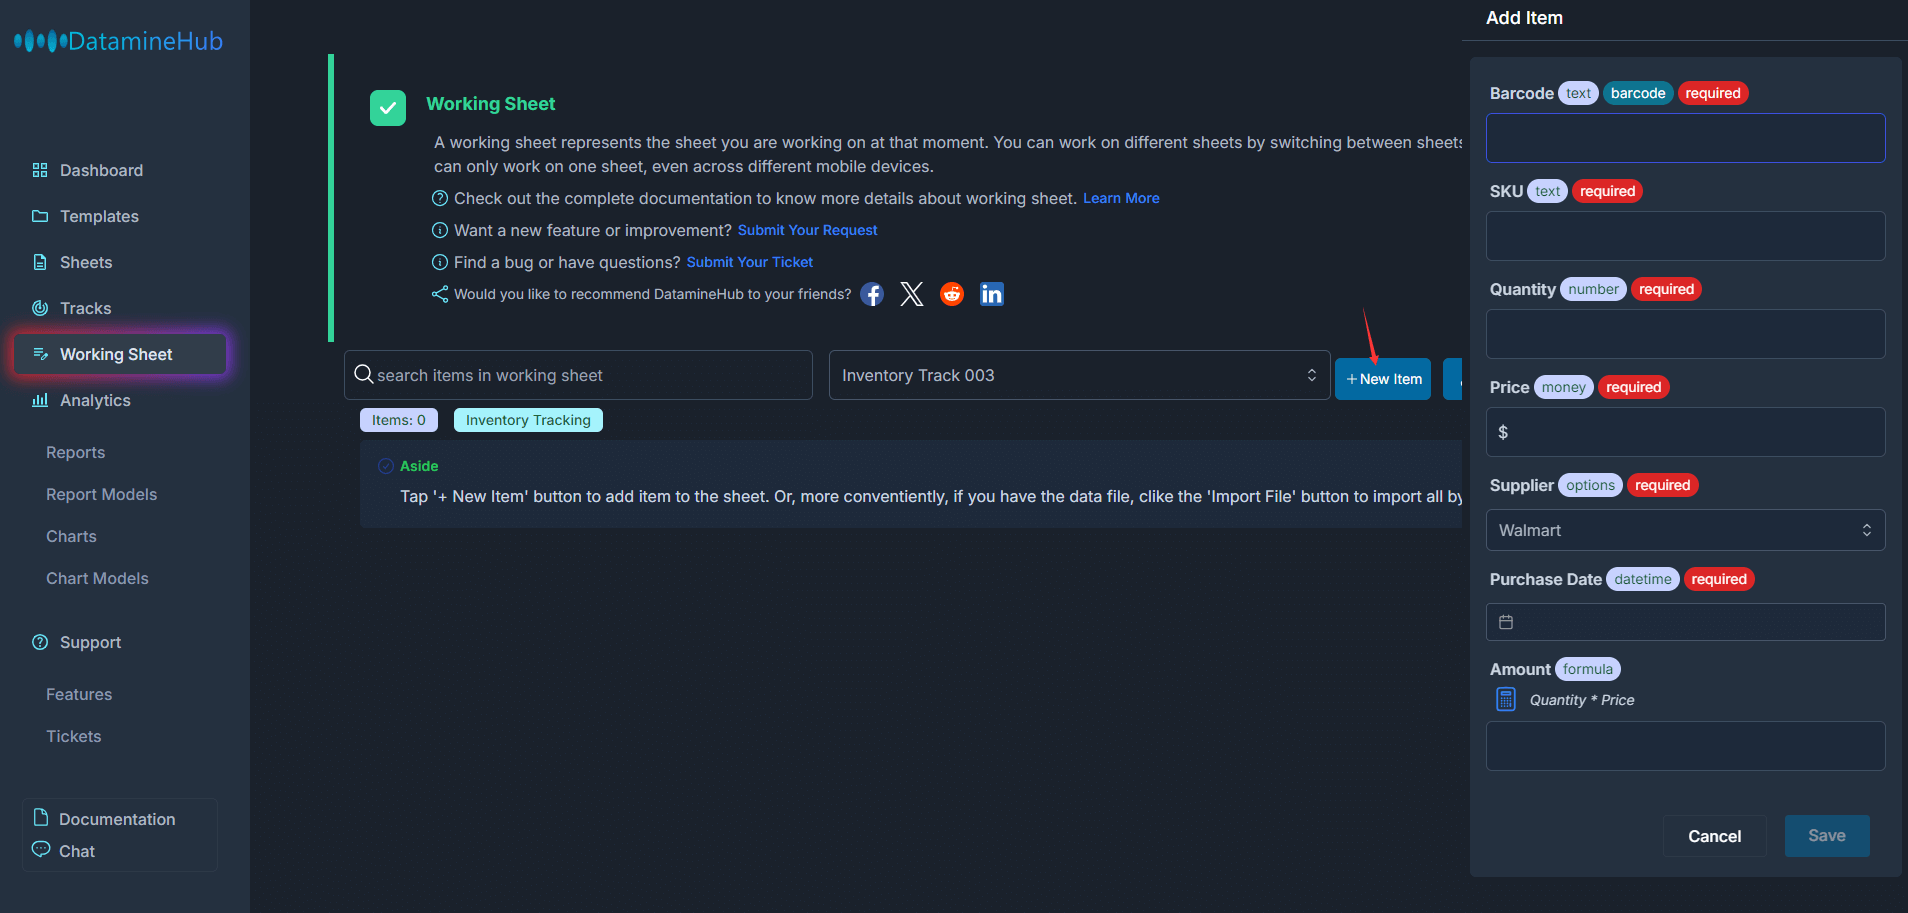
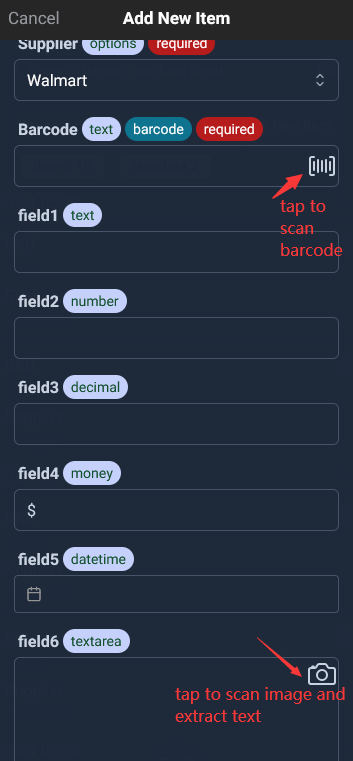
If the sheet is based on Template, then these fields are from the template, if you need to modify these fields, go to the Templates page, choose the template and modify its fields, then back to working sheet here. To learn how to manage template and its fields. check template and field doc.
If the sheet is non template based. Then, you would be able to edit the fields directly here. To learn more about the field, check field doc.
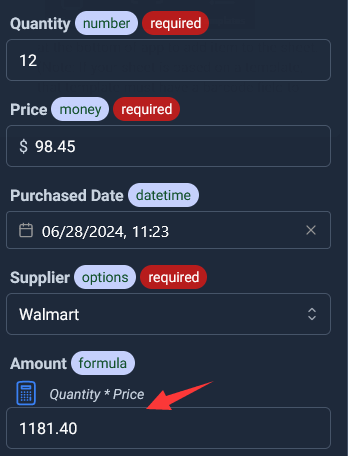
If your template(template based sheet) or sheet(non template based sheet) has formula field. Let's say Amount field:
Amount = Quantity * Price. So once you provided the value for Quantity and Price, the Amount value will be calculated automatically, you don't have to hold a calculator anymore.
Provide the data for all fields. Especially the required field. Click the Save button to save this item to sheet. The new added item would appear on top of the working sheet page.
Manage items
Review items
There are two ways to review the items you ever added to sheets.
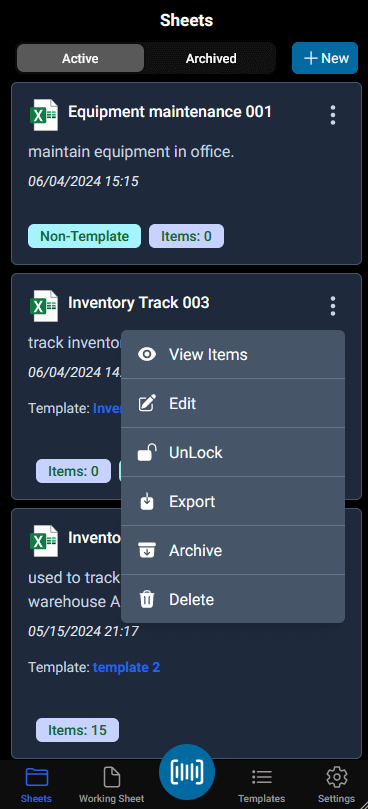
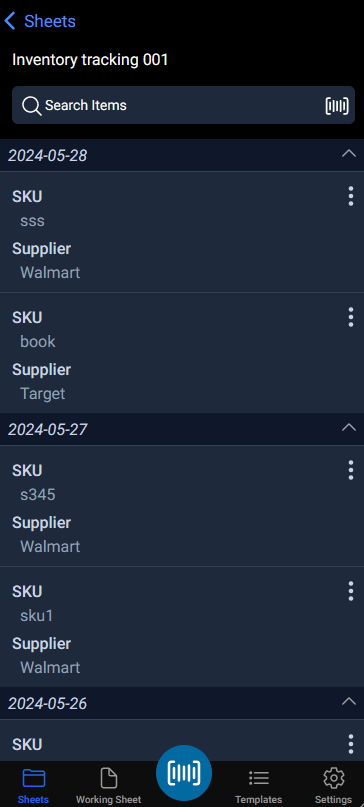
- Click the Sheets from the leftbar menu, on the Sheets page. click the vertical ellipsis icon on the sheet, from the menu:
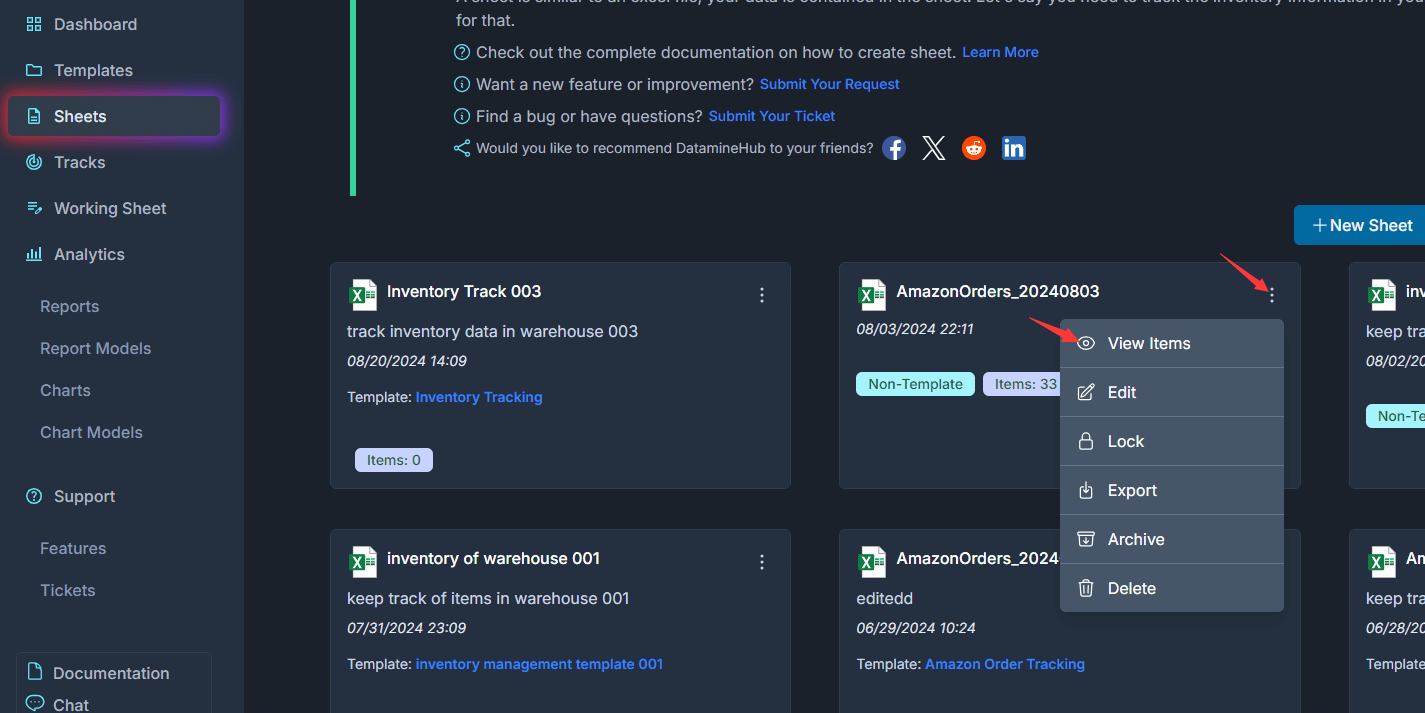
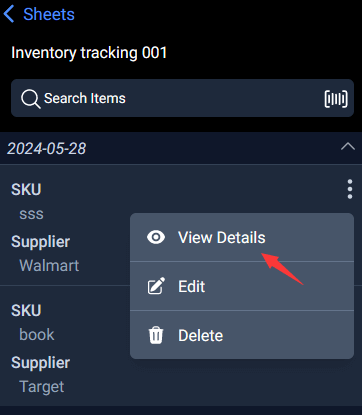
Click 'View Items', the sheet items page display.
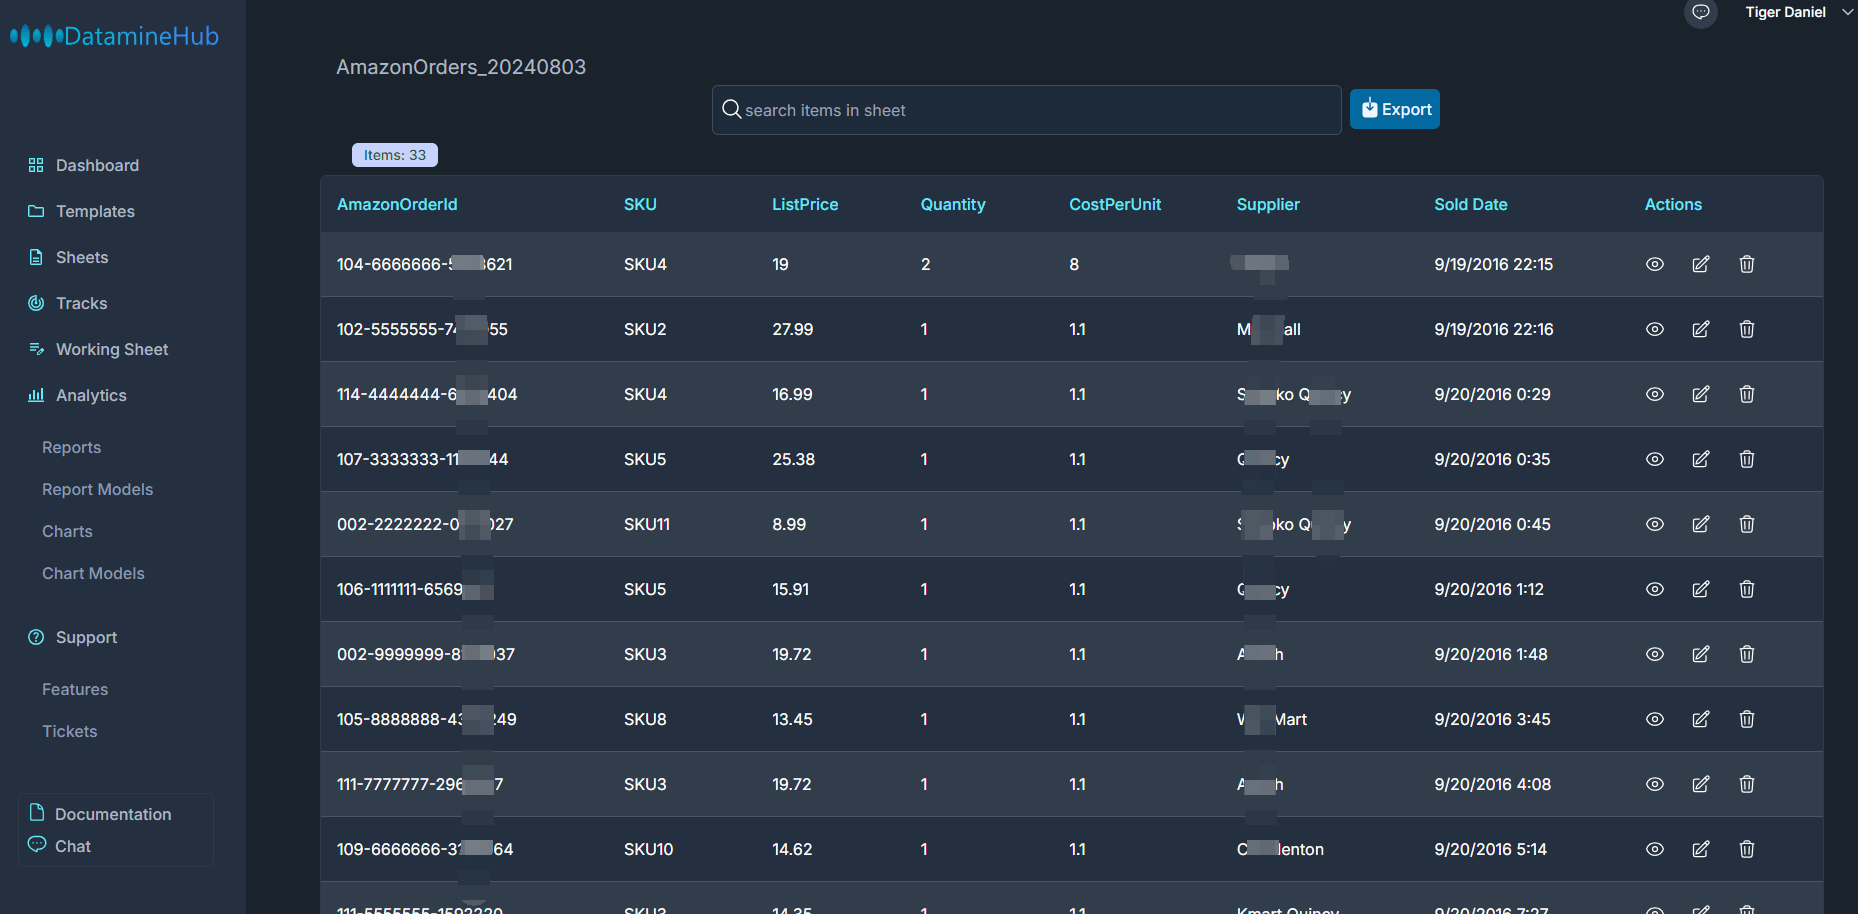
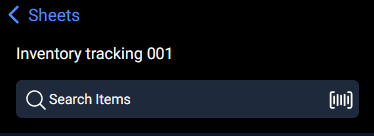
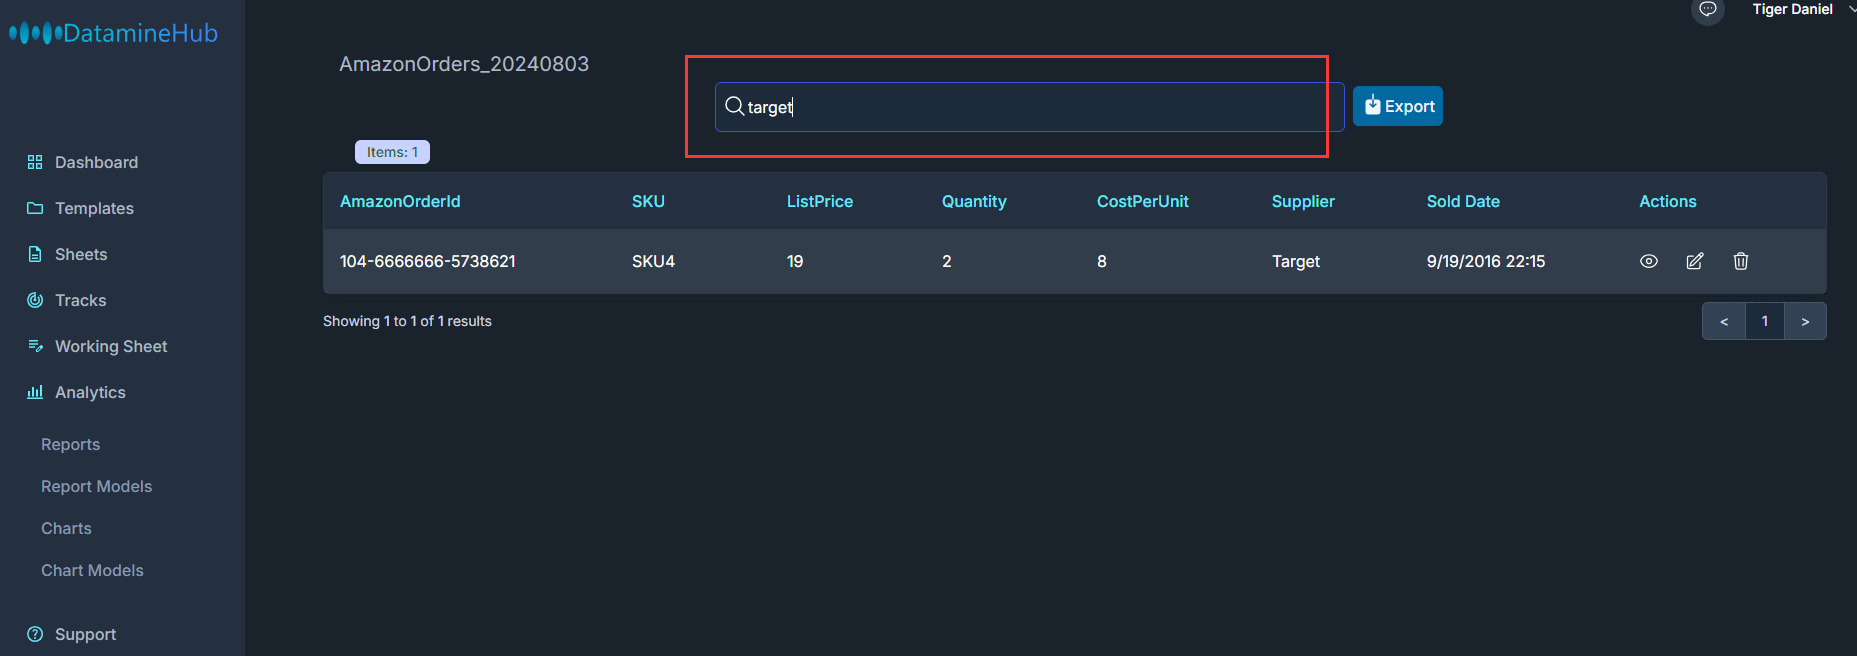
You can also search items, either typing the keyword(3 chars at least). Or if you are going to search by a barcode, like UPC, ISBN. You can tap the barcode icon directly to scan the barcode.
- You can also review the items from the Working Sheet, either the sheet you are working on or switch to the sheet.
Item Change History
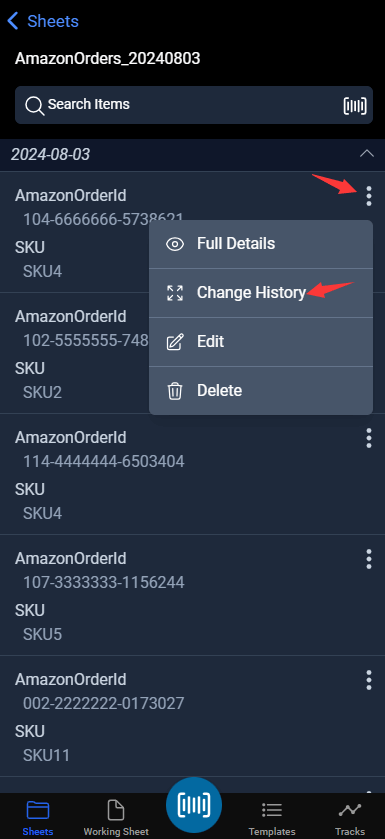
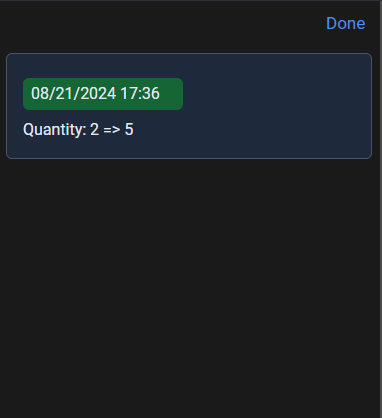
For each item's change history, you can track them. Click the eye icon on each item. The highlight background indicates which item you are viewing its change history.
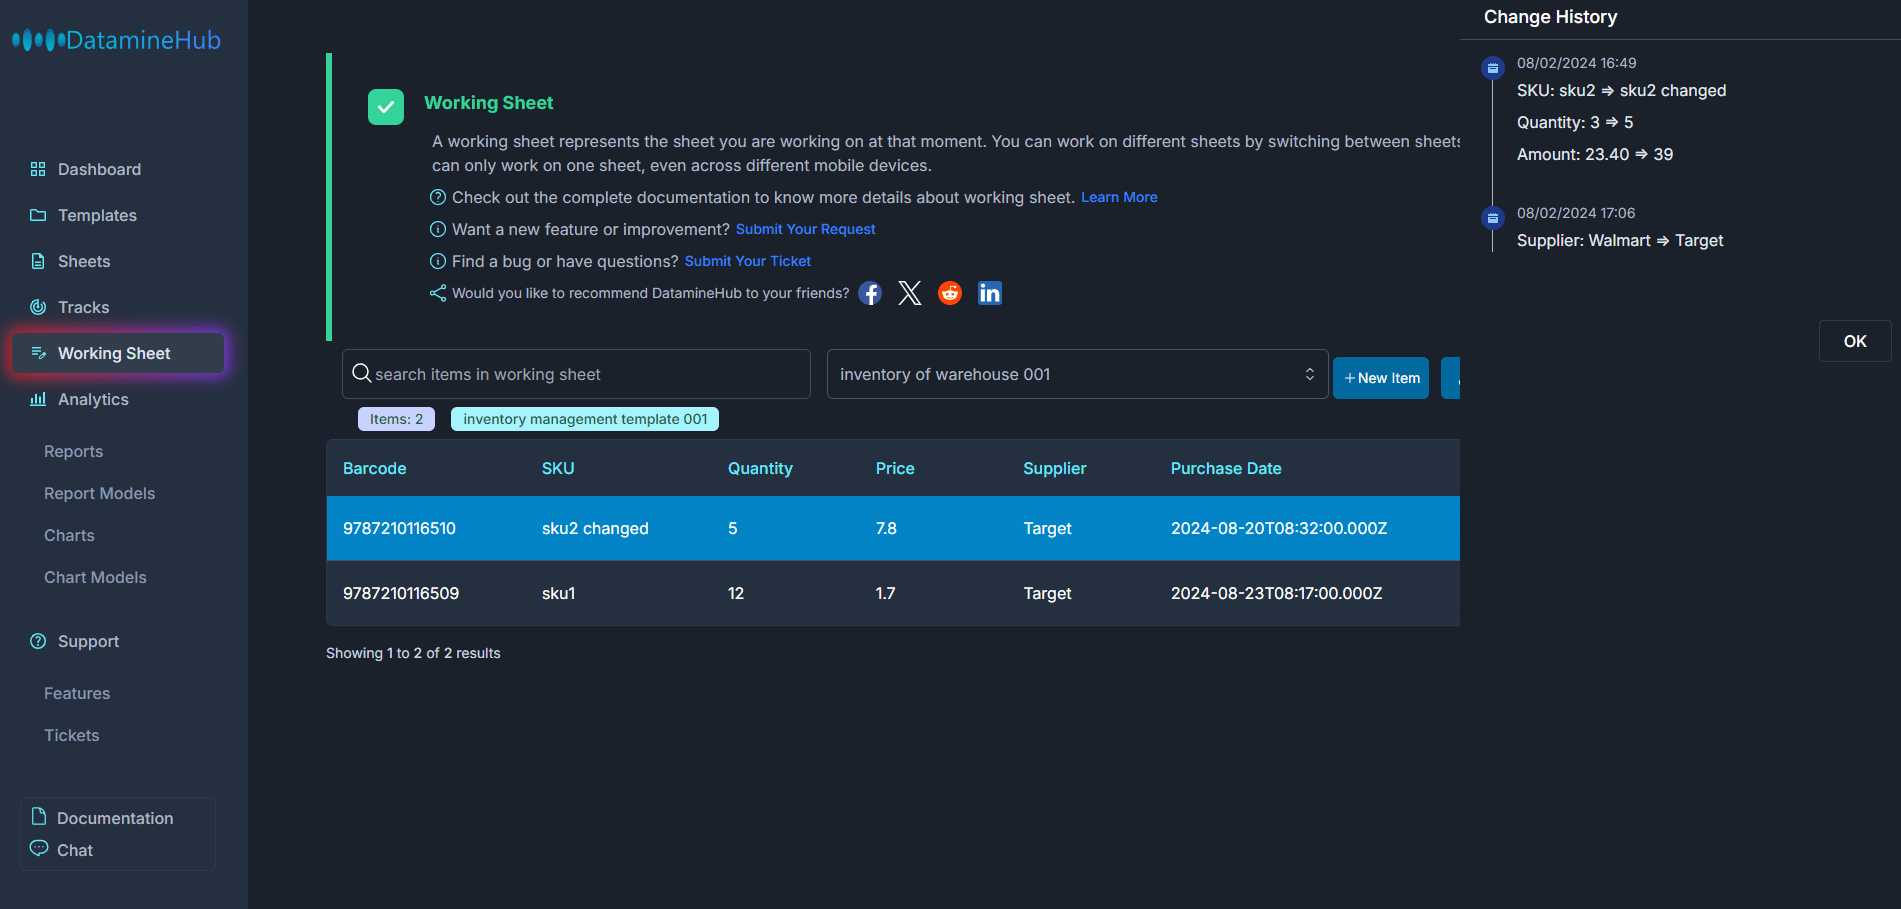
The change history tells When did the value change from what to what.
Edit items
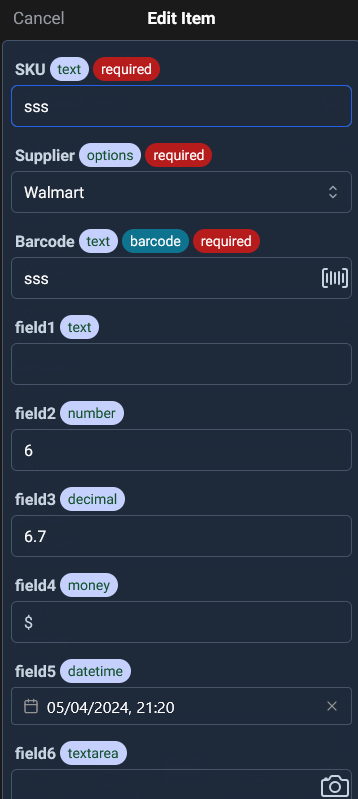
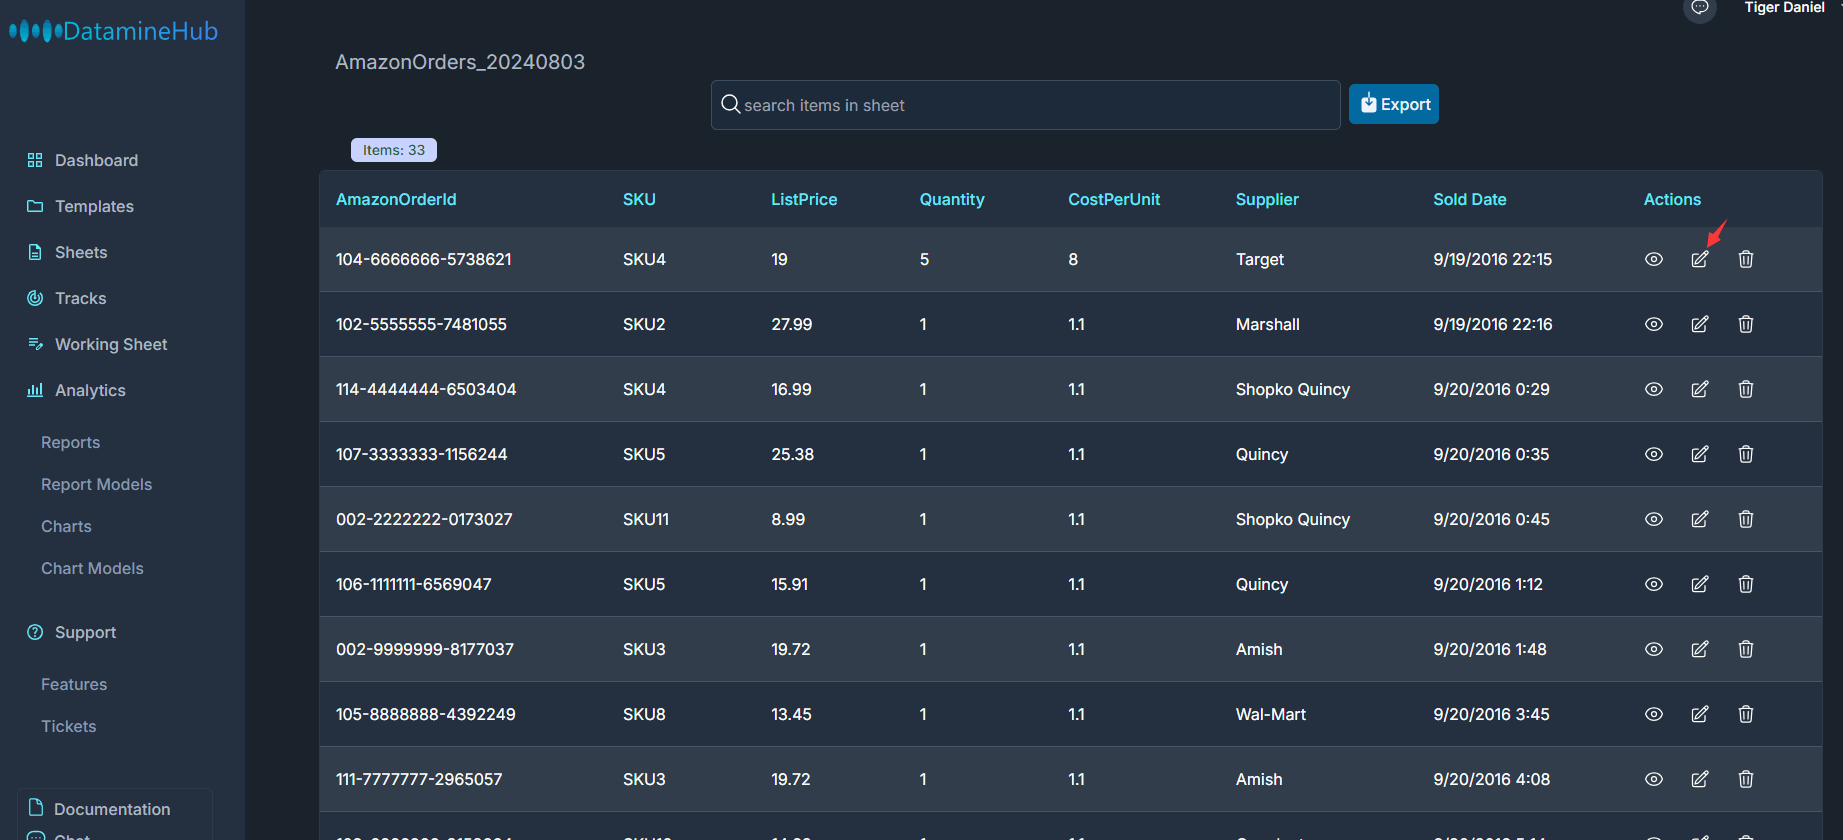
Click the pencil icon on each item. The edit modal will slide in from the right side.
After changed the value, click the Save Changes button.
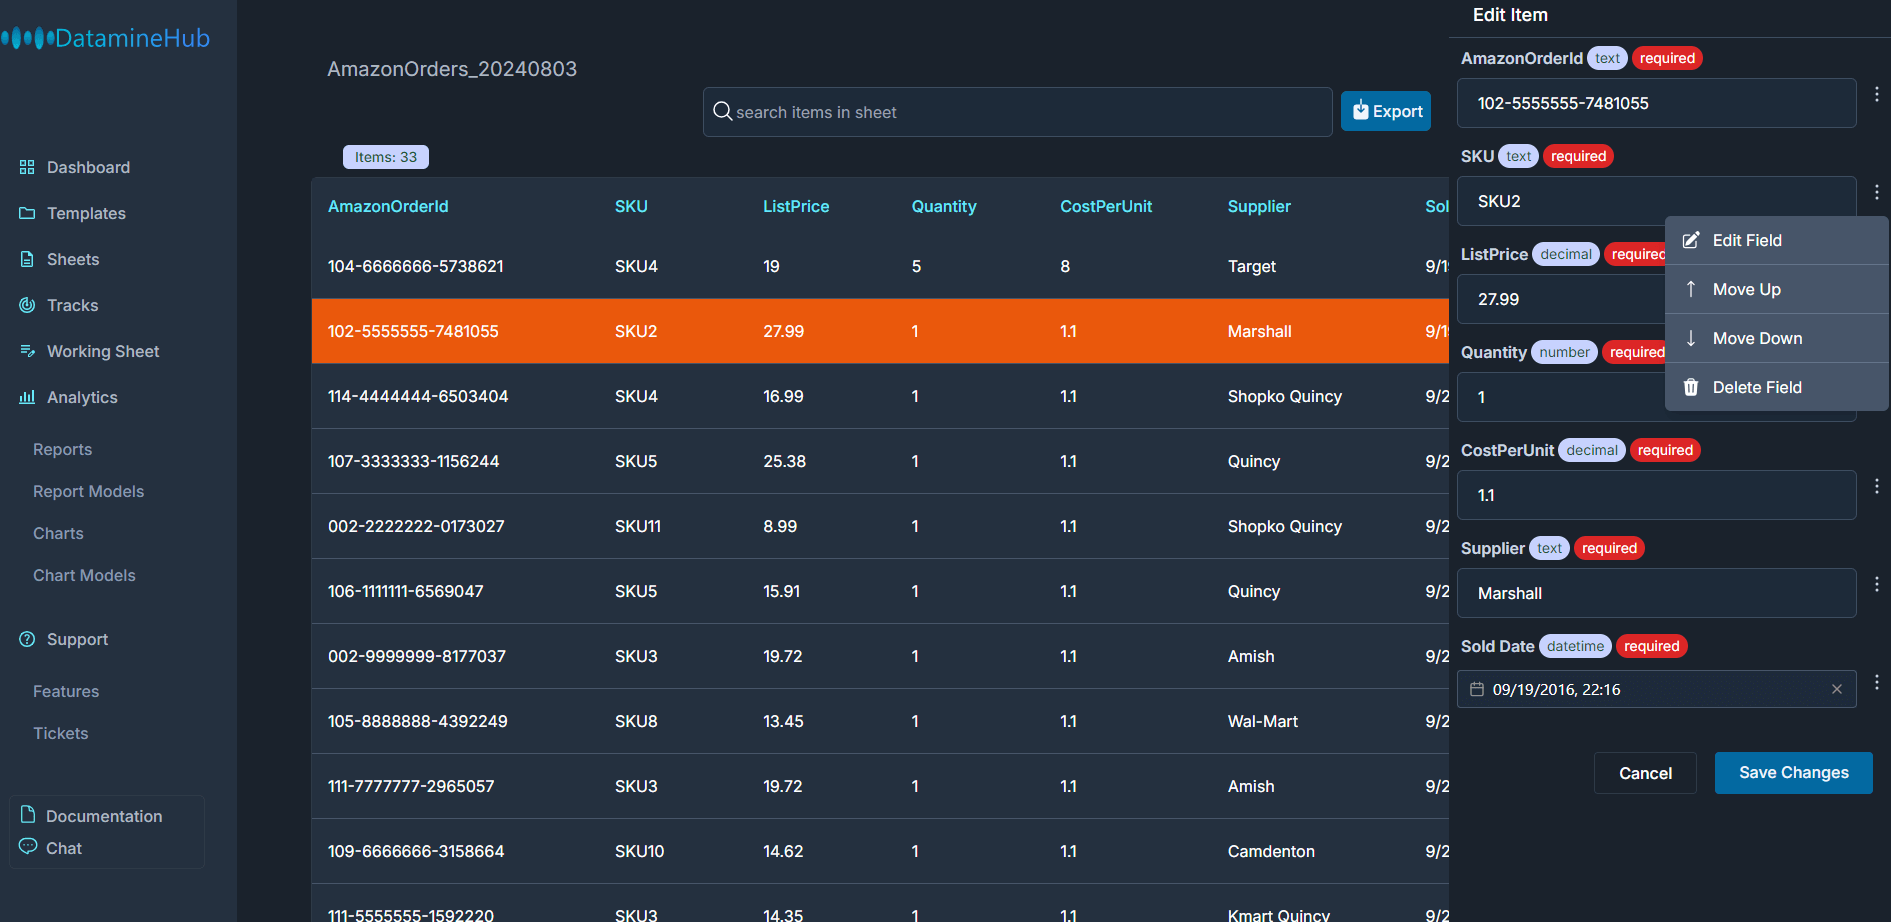
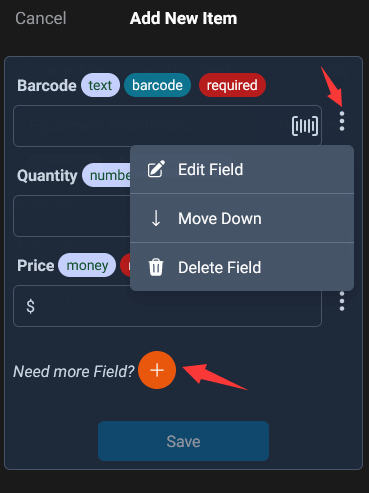
Btw, if your sheet is non-template based, like this screenshot example, there would have a vertical ellipsis on the right side of each field in the edit modal,
You can edit the field, move the position and delete the field. Note: delete a field will remove the added data for that field in all items in the sheet.
Delete items
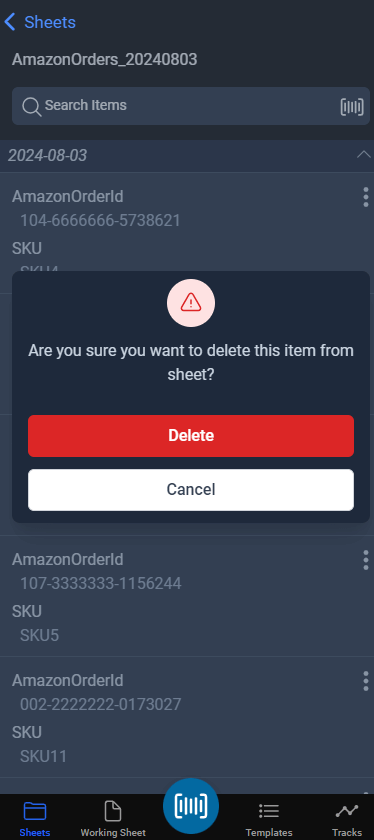
Click the trash icon on each item. The delete warning modal pops up:
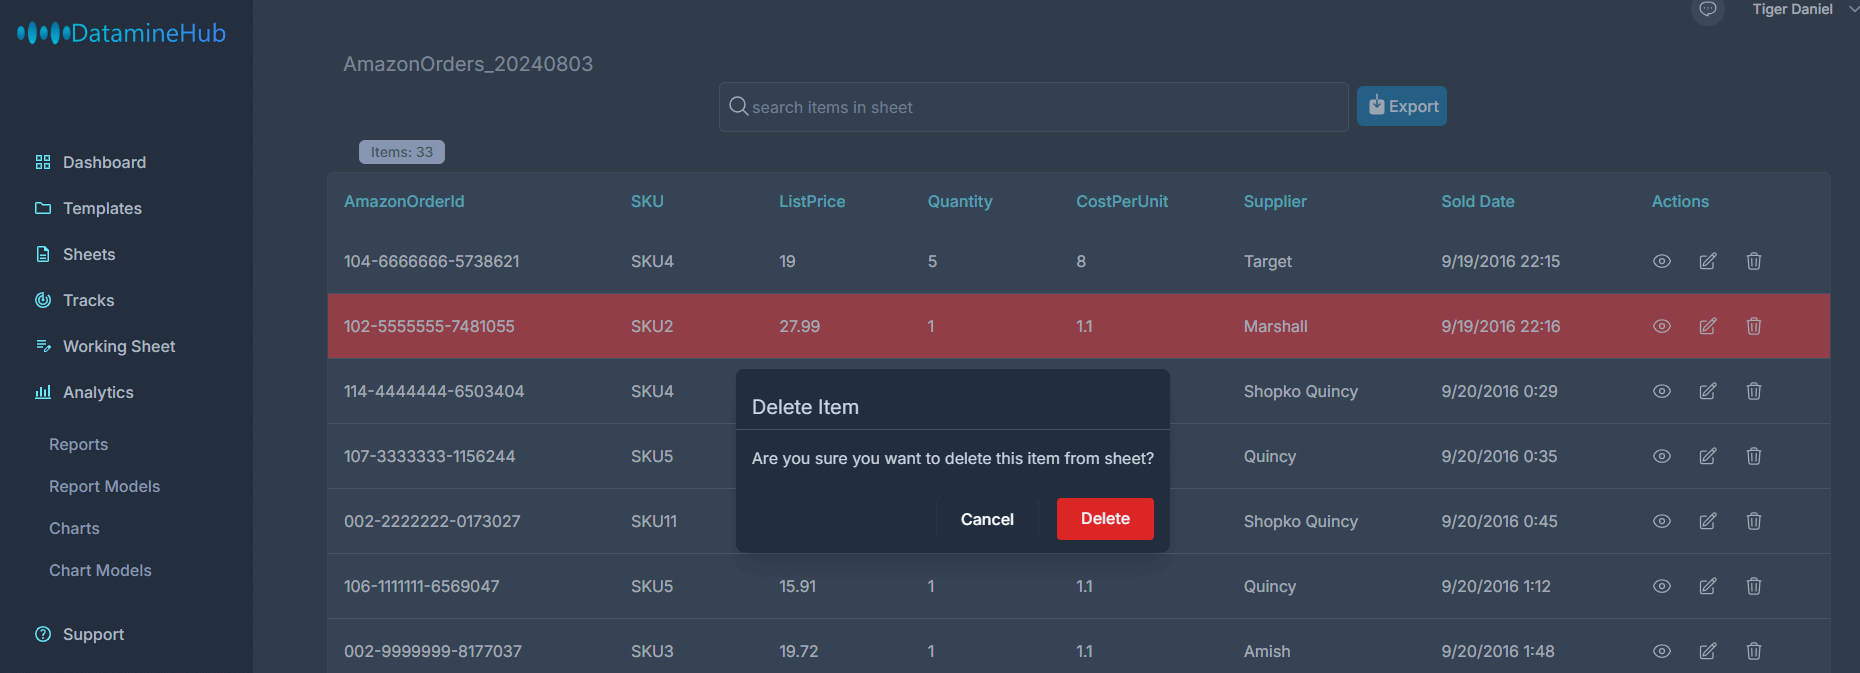
The highlight background indicates which item you're going to delete.

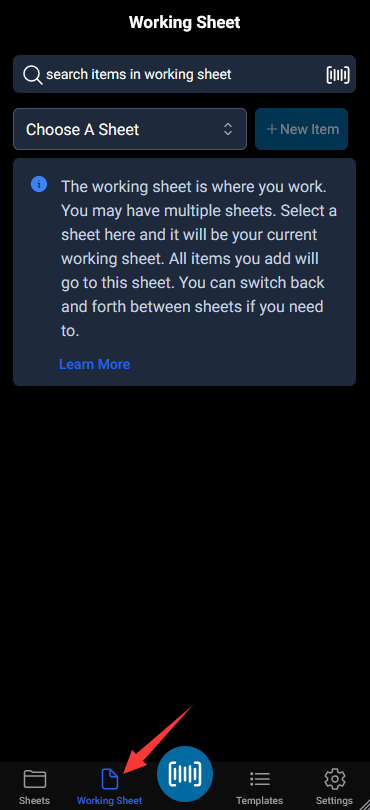
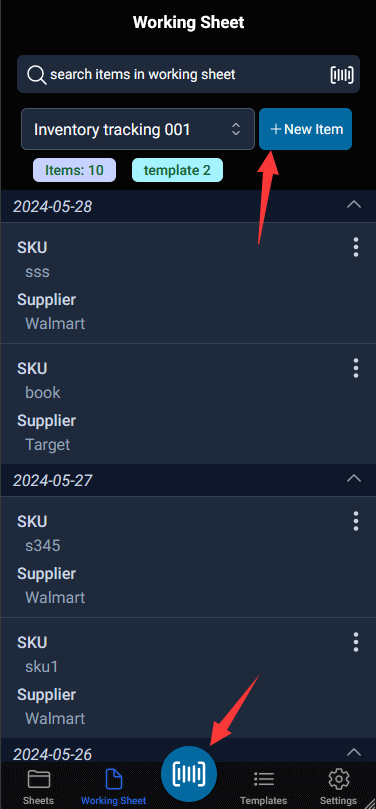 - Tap the big circle Icon in the middle of the bottom bar. This is the most direct and simple way to start scanning. Even if you haven't selected a working sheet yet, clicking this scan button will prompt you to select a working sheet, so it is very useful. Try it. - Tap the '+ New Item' button, it will pop up the Add New Item modal. If the sheet is based on Template, then these fields are from the template, if you need to modify these fields, go to the Templates tab, choose the template and modify its fields, then back to working sheet here. To learn how to manage template and its fields. check template and field doc.